With the surge of technology in the real estate sector, virtual tours have become indispensable tools for agents looking to elevate their property listings. These digital experiences not only attract a wider audience but also streamline the sales process. For realtors eager to embrace this trend, here’s a step-by-step guide to creating your own virtual tours.
1. Equipment and Software
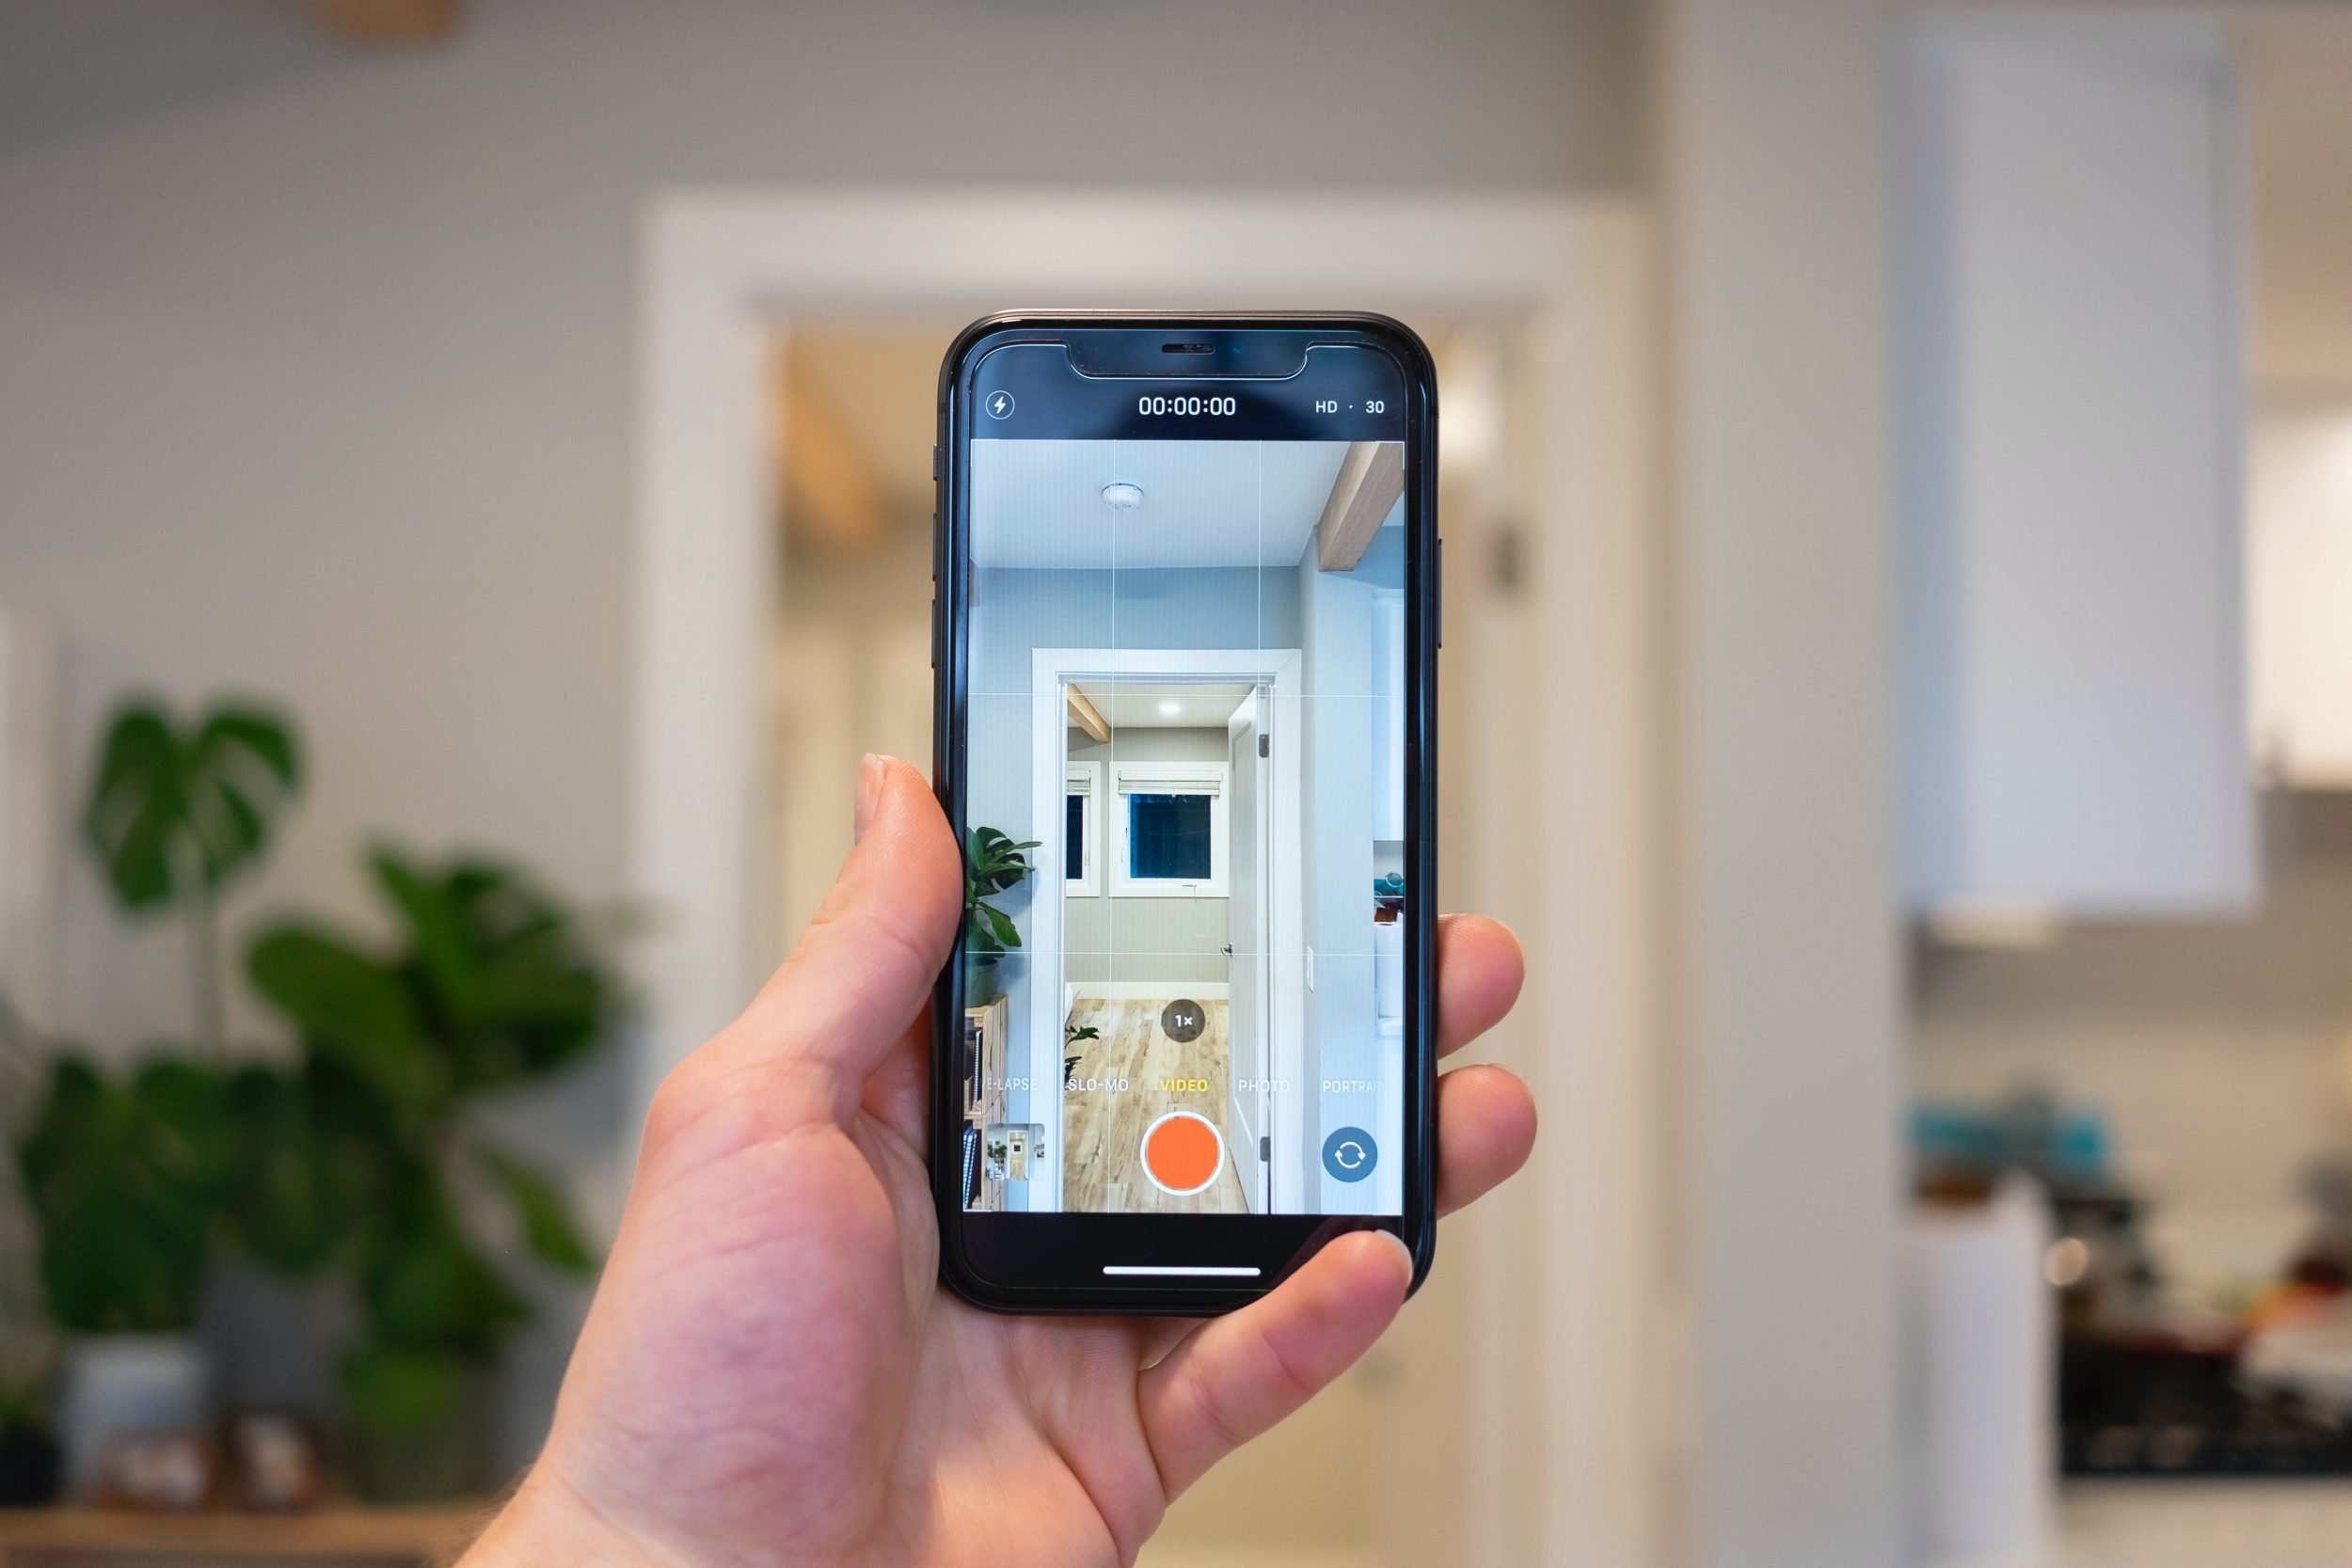
Camera: A good-quality DSLR or mirrorless camera with a wide-angle lens is ideal. However, if you’re on a budget, newer smartphones with high-quality cameras can suffice.
Tripod: Ensures stability during photography, resulting in clearer images.
Virtual Tour Software: Platforms like Matterport, Zillow 3D Home, and Kuula can help stitch photos together to create an immersive tour.
2. Preparing the Property
Staging: Just like a physical tour, the property should be clean and well-staged. Remove any personal items and ensure good lighting.
Planning the Path: Determine a logical path for the tour. Usually, it’s best to start at the entrance and proceed as you would during a live showing.
3. Shooting the Photos
Stability: Always use a tripod to ensure stability.
Consistent Lighting: Ensure each room is consistently lit to avoid dark spots or overly bright areas. Natural light is best.
Multiple Angles: Capture each room from multiple angles. This gives viewers a comprehensive understanding of space.
360-degree Cameras: If you have one, it can capture an entire room in one shot, providing an immersive experience.
4. Editing and Stitching
Photo Editing: Use software like Adobe Lightroom or Photoshop to adjust lighting, contrast, and clarity.
Stitching: Virtual tour platforms allow you to stitch together images to form a tour. Follow their guidelines for uploading and arranging images.
5. Adding Interactive Features
Hotspots: Some software allows you to add clickable points (hotspots) that can offer more information or lead to another part of the tour.
Floor Plans: Including a clickable floor plan can help viewers understand the layout better.
Voiceovers and Music: Adding a narrated description or background music can enhance the viewer’s experience. Ensure any music used is royalty-free.
6. Hosting and Sharing
Hosting: Most virtual tour platforms offer hosting services. If not, you may need a web hosting provider.
Embedding on Your Website: Once hosted, you can embed the tour on your property listing page.
Sharing on Social Media: Platforms like Facebook and Instagram support 360-degree photos and can be a great place to share snippets of your tour.
7. Analyzing and Optimizing
Viewer Data: Some platforms offer analytics on viewer behavior. Use this data to understand what potential buyers are most interested in and optimize future tours.
Feedback: Encourage feedback from viewers and make necessary tweaks to improve.
Conclusion
Creating a virtual tour might seem daunting initially, but with the right tools and a systematic approach, it becomes a straightforward process. As a realtor, embracing virtual tours not only positions you as tech-savvy but also caters to the evolving demands of property buyers in the digital age. Remember, the essence of a virtual tour is to provide a realistic, immersive experience, so always prioritize quality and clarity. Happy touring!